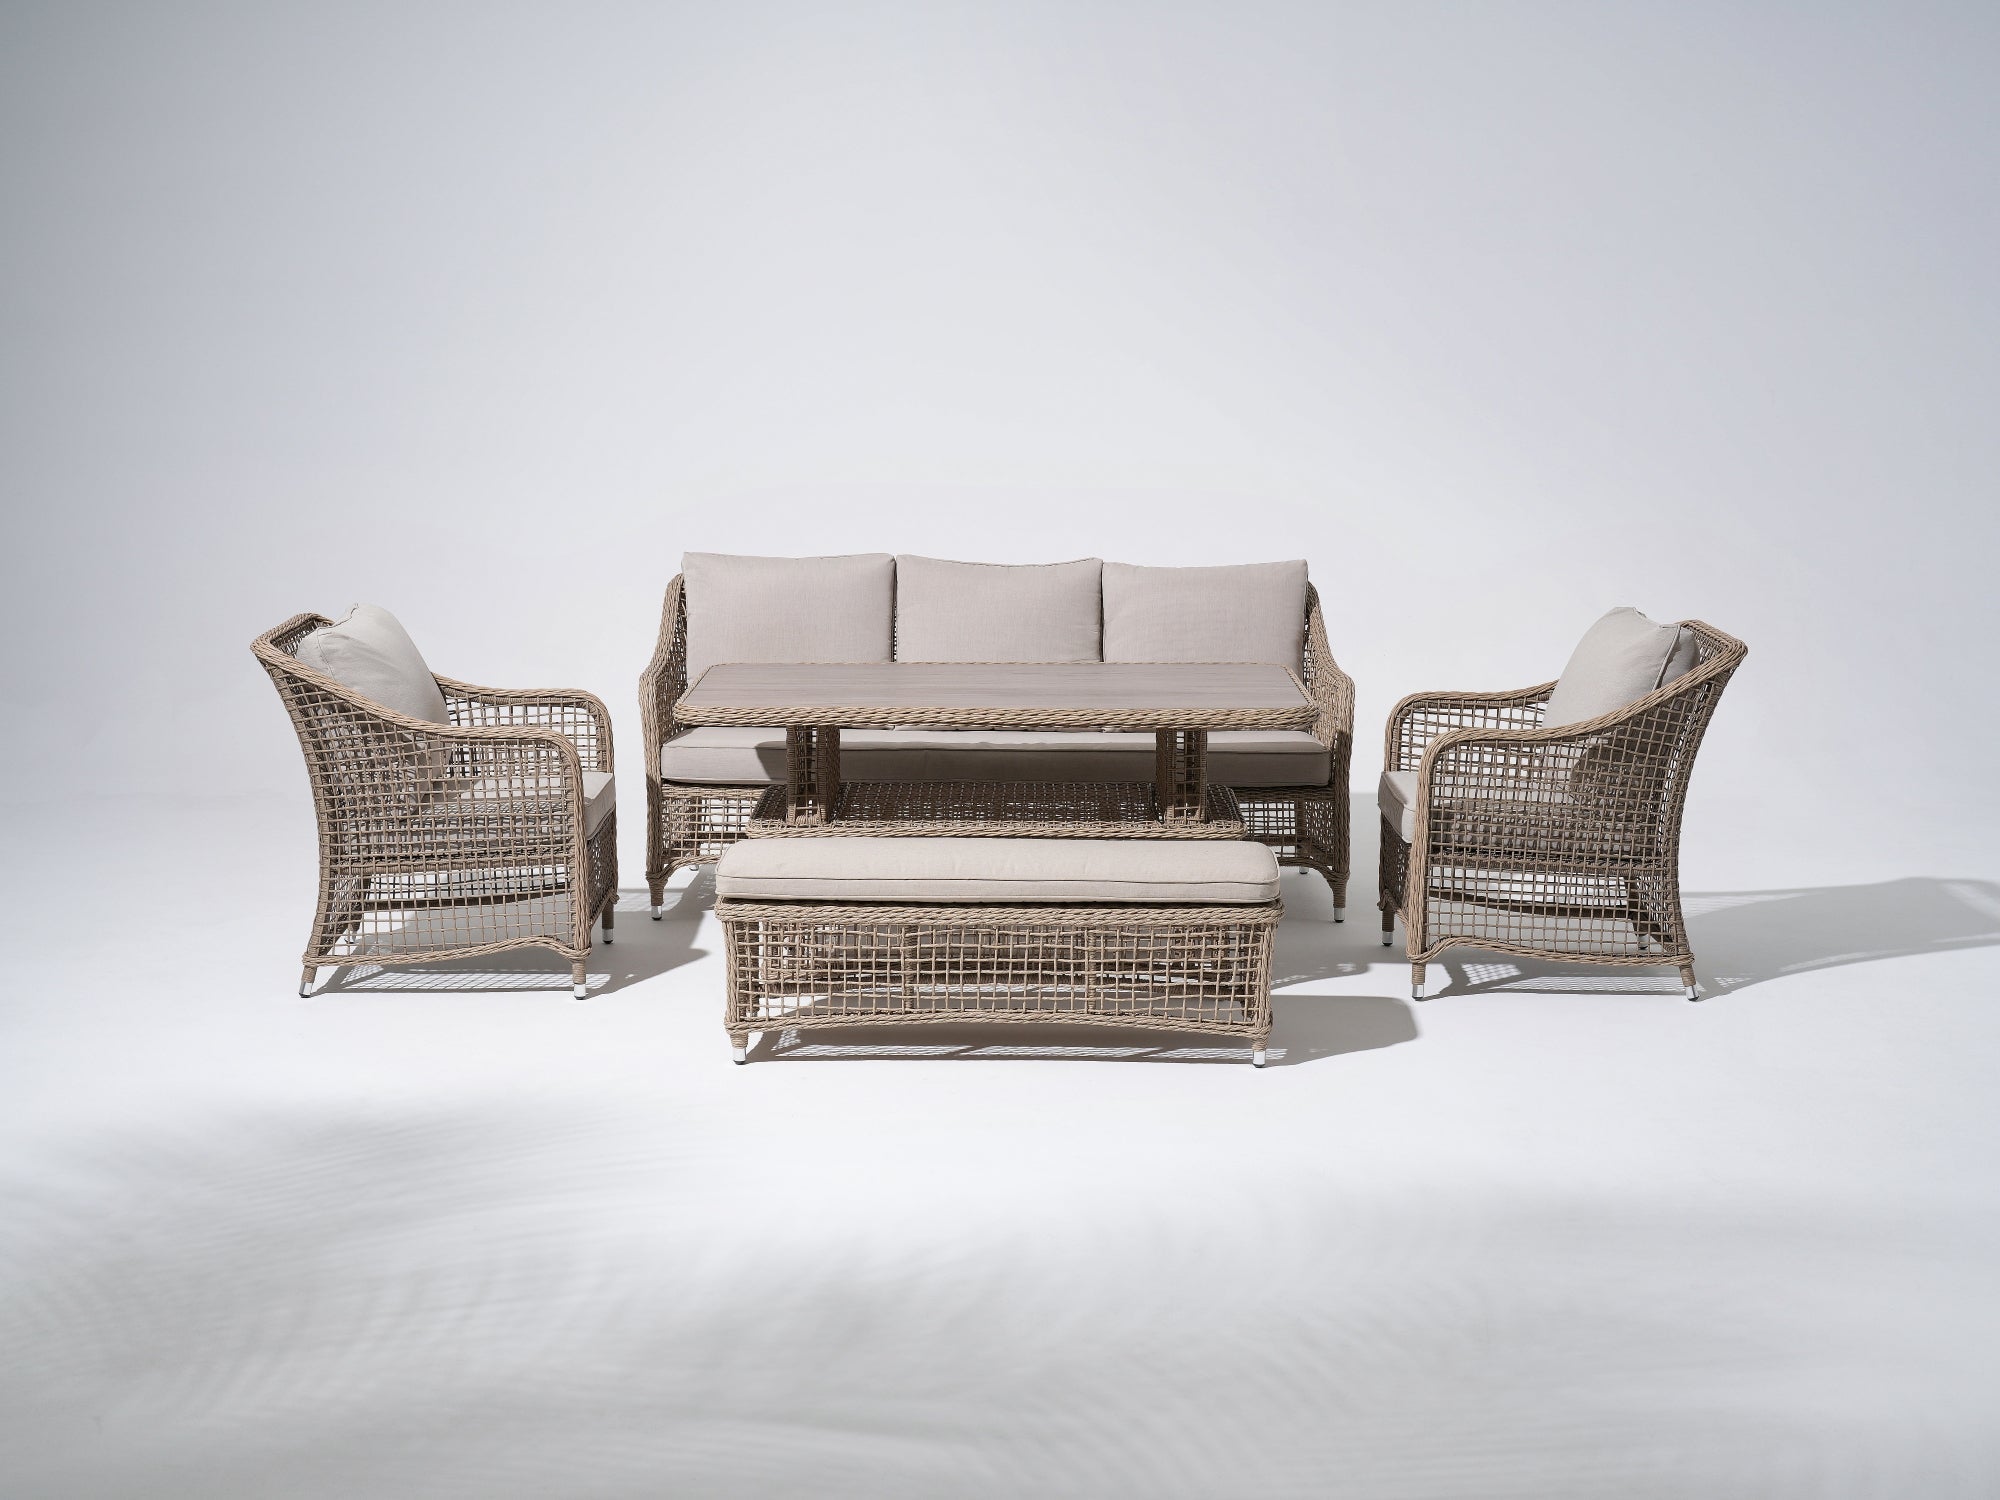
Wicker furniture can look old over time due to peeling or fading paint. Discarding your once-treasured piece of wicker could not be the best idea. If it’s not damaged beyond repair, divert your mind to breathing life into your old wicker furniture.
Just a little DIY care as simple as a fresh coat of paint instantly returns its pristine new appearance. It could also be you bought a worn-out thrifted wicker or want to change the color.
Whatever the reason, follow our guide on how best to perform paintwork on them.

Adequate Preparation Before Painting
Usually, there are a couple of preparation works prior to the execution of the painting job. Preparing sufficiently raises the chances of resounding success of the entire paint project.
Gathering Necessary Tools and Materials
First, pick all suitable tools and materials and set them in one accessible place within the workspace. Confirm they are in the right condition for use on wicker, whether rattan or woven furniture.
Tools
- Medium bristle brush
- Fine-grit (150-grit) sandpaper
- Cleaning supplies: handheld vacuum cleaner, microfibre cloth piece, bucket
- Drop cloth/newspapers
- Protective gear: gloves, dust mask, safety glasses, bodysuit
- Paintbrush
Materials
- A mild liquid detergent or dish soap
- Plenty of clean, warm water
- Wood primer
- Spray paint in your color of choice
Getting Yourself Ready
So, before indulging in the wicker project, your health and safety come first.
It’s advisable to take an abundance of caution to prevent the paint from coming in contact with your skin and eyes. That said, you ought to wear gloves, and eye and respiratory protection.
Setting up Your Workspace
Always consider working with paint outdoors where there’s adequate air circulation. If you do not have an outdoor workspace, set up an indoor spot with all the windows and doors wide open. The point here is to create natural airflow to mitigate inhalation of dust and paint fumes.
You can supplement with fans if the room’s ventilation is insufficient. Ensure you position them strategically so they face you while painting. Put some close to the windows to help diffuse the paint fumes and particles away.
Then clear the working area of any items and line it with a drop cloth. Or cover it with overlapping sheets of newspaper to protect the surfaces from spills. The wicker furniture lies over the covering.
Preparing the Wicker Surface for Painting
These are the most important things to do on your wicker for the paint finish to last long:
- Start by smoothing out any rough areas and remove the old flaked paint if need be. Do that by sanding the wicker with fine-grit sandpaper. Be gentle enough not to yank out the wicker strands.
- Clean the wicker meticulously so the new paint adheres properly. Brush off any dust, debris, mold, or mildew. Vacuum-clean the wicker to snuff out lingering dirt in the undetectable hiding spots.
- Follow up with a damp soapy cloth to wipe over the wicker surface ensuring you get to every cranny. However, the wicker should be completely dry before starting repair and painting.
- Repair damages and tighten any loose wicker strands to revive the durability of the wicker pieces. If there are any loose ends, and pieces that have come apart, glue them to each other. Remember to pay much attention to the weaving pattern while doing the repairs.

Choosing the Right Primer and Paint
After thoroughly cleaning the wicker, check that the primer and paint are appropriate. In any wicker paintwork, you use products designed specifically for wicker to achieve the best results.
Ensuring you select the right paint, consider knowing the different types of wicker paints. With the advancement of technology, manufacturers are introducing new paints and updating the existing ones. Such a diverse array lets you pick the perfect type, quality, and color.
As for the types, wicker furniture works well with either oil-based outdoor paint, spray paint, or acrylic paint.
Outdoor Vs. Indoor Consideration
With that in mind, you also factor in the indoor or outdoor aspect. Will your refurbished wicker furniture stay in an open patio or indoors?
Outdoor wickers require you to select oil-based outdoor paint because it’s weather-resistant. This is in a bid to enhance the extended life of the wicker furniture.
When getting a paint primer, opt for the oil-based primer, especially for outside wickers. Similarly, work with oil-based primers if you are to use oil-based paint.
Indoor wickers don’t warrant a restriction of choice as water-based primers are suitable too.
Lastly, we advocate for intensive research and vigilance on the quality of primers and paint types. They are all not the same; they differ in quality, so be on the lookout.

Applying the Primer
The primer, serving as the undercoat, is absolutely a crucial component in the process. You need it to prime the wicker surface before applying your paint for better adhesion of the paint. By that, your wicker furniture will be more durable and have a smooth finish.
Additionally, it’s best to use a primer if you’re applying a lighter paint on an existing dark color. It balances out the dark hue so the new paint brings out its exact color when applied.
This begs the question: How do you apply the primer evenly on your wicker? Get how to do it right in this step-by-step procedure. You can use a paintbrush or spray can to apply it.
Step 1: First, stir the primer with a stick to mix well. If you choose spray primers, shake the can well before application.
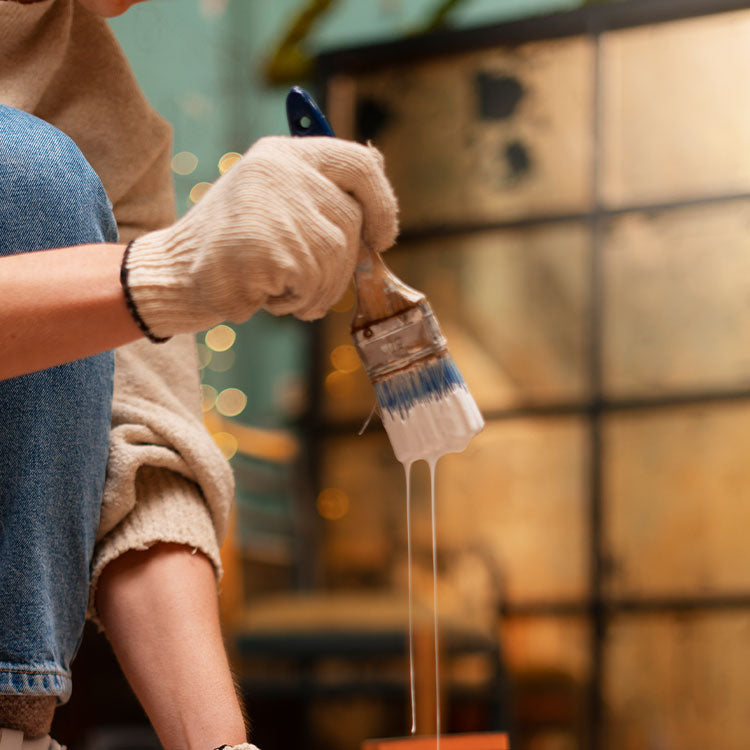
Step 2: Now apply the first primer coat in long even strokes going in one direction. Apply in a manner that is not thick on the wicker surface while ensuring you reach every part. And wait for at least two hours for this first coat to grip on the wicker.
Step 3: Add another coat, applying it in the opposite direction. You’ll need two coats to properly seal pores and leave a level surface. Finally, give the primer 3 hours or more to dry depending on the day’s temperatures.
Consider allowing sufficient waiting time between the coat applications.

Painting Techniques: Applying Paint
Of course, the painting job proceeds after priming the wicker furniture. For paintwork, see that you have the desired color that perfectly blends with the house decor and the wicker cushions.
Choosing the right color scheme is very important for your wicker furniture makeover.
If you pick a suitable color, you will enjoy the satisfaction that comes with timeless beauty. Selecting the wrong one may give an outcome you did not hope for.
Well, the paint application is pretty much the same as applying the primer. Only that, in this case, you will apply coats to satisfaction until you achieve even coverage.
There are techniques you can use to paint your wicker evenly and efficiently:
- Using a brush for intricate details and crevices as well as small coverages.
- Spraying the paint onto the wicker furniture in the case of several pieces or larger surfaces. That saves time as it’s quicker and easier.
Aim to avoid drips, ensuring a consistent coverage of the wicker paint. And purpose not to leave unpainted spots and reach all corners of the wicker including the underside.
The top painting of the wicker should have dried to the touch before turning it upside down to work on the underside.

Curing and Drying of the Paint
Unlike the primer, you don’t focus on drying only but also on curing when dealing with paint. Both are equally important to attain to boost the lifespan of the wicker furniture.
Letting the wicker paint dry and cure properly gives optimal bonding for the paint finish to have a long-lasting touch. It may take ages before the wicker furniture needs another revamp, saving costs.
If the wicker is dry but not fully cured, the fresh look won’t last as long as when it cures to completion.
Curing takes longer than drying, whereby the paint hardens sufficiently before the wicker can be put to use. Drying occurs when solvents in the paint system evaporate, making the paint dry to the touch.
The manufacturer specifically displays the required drying time on the paint can label. Know that the drying and curing time varies with the type of paint, alongside other factors.
Factors Affecting The Paint’s Drying Time
In as much as the composition of the paint determines its drying time, there are other factors we cannot overlook. Taking full consideration of them enables you to paint your wicker like a pro.
- Type of paint: Whether oil-based, acrylic, or water-based paints. Check the manufacturer’s label to ascertain the drying time.
- Number of coats: The more coats, the more time the wicker takes to dry and cure to 100% completion.
- The paint color: Darker paints may take a longer drying time
- The ambient condition of where it’s drying from The temperature and humidity of the room influence the rate of drying.
TIP: Keep the wicker’s drying room well-ventilated during the drying process. The constant airflow contributes to faster drying to use the wicker furniture earlier.
Adding Protective Finish (Optional)
It’s a good thing to apply a sealer to protect your paint finish, though not compulsory. The paint can stay intact in the absence of this overcoat.
If your repainted wicker is for outdoor use, in the open skies, it would be prudent to commit to this step.
The sealer will safeguard the wicker from harsh outdoor weather like the rain and the sun. You will have the wicker serving you for many years with good overall maintenance.

At Your Fingertips
No doubt, wicker furniture adds an astounding aesthetic value to your space. For ease of remembrance, paint your wicker furniture in these 4 easy steps:
Step 1: Prepare your workspace
Step 2: Sand and clean the wicker furniture thoroughly
Step 3: Apply the primer in two coats
Step 4: Apply the wicker paint to sufficient coverage
But if your wicker’s condition is beyond revitalizing with paint, it’s time to replace it with us today.
Take the bold move of ordering online from our rich collection of wicker furniture. And have it delivered right at your doorstep.


