


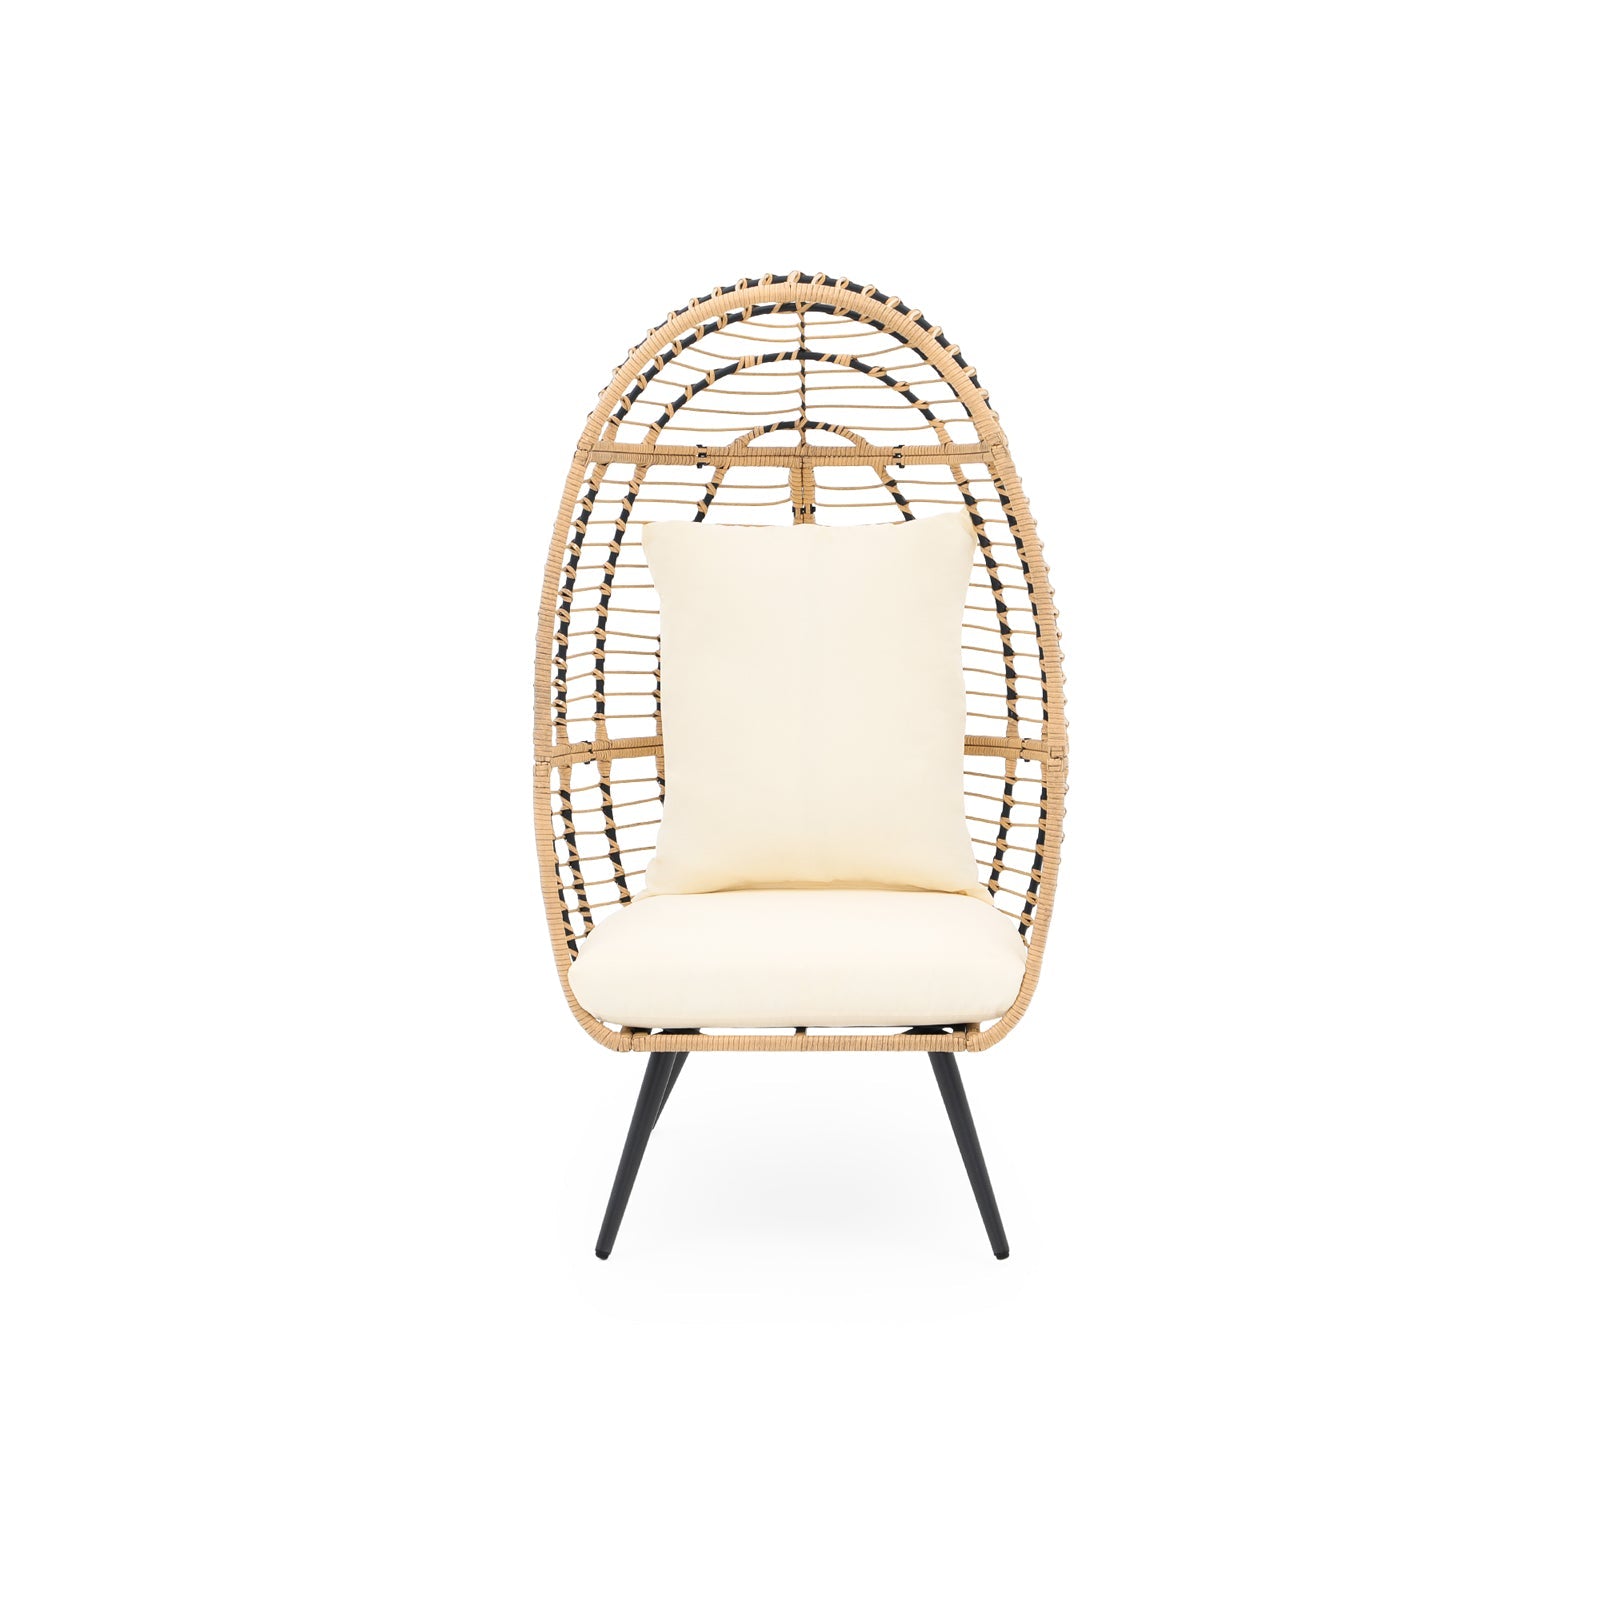
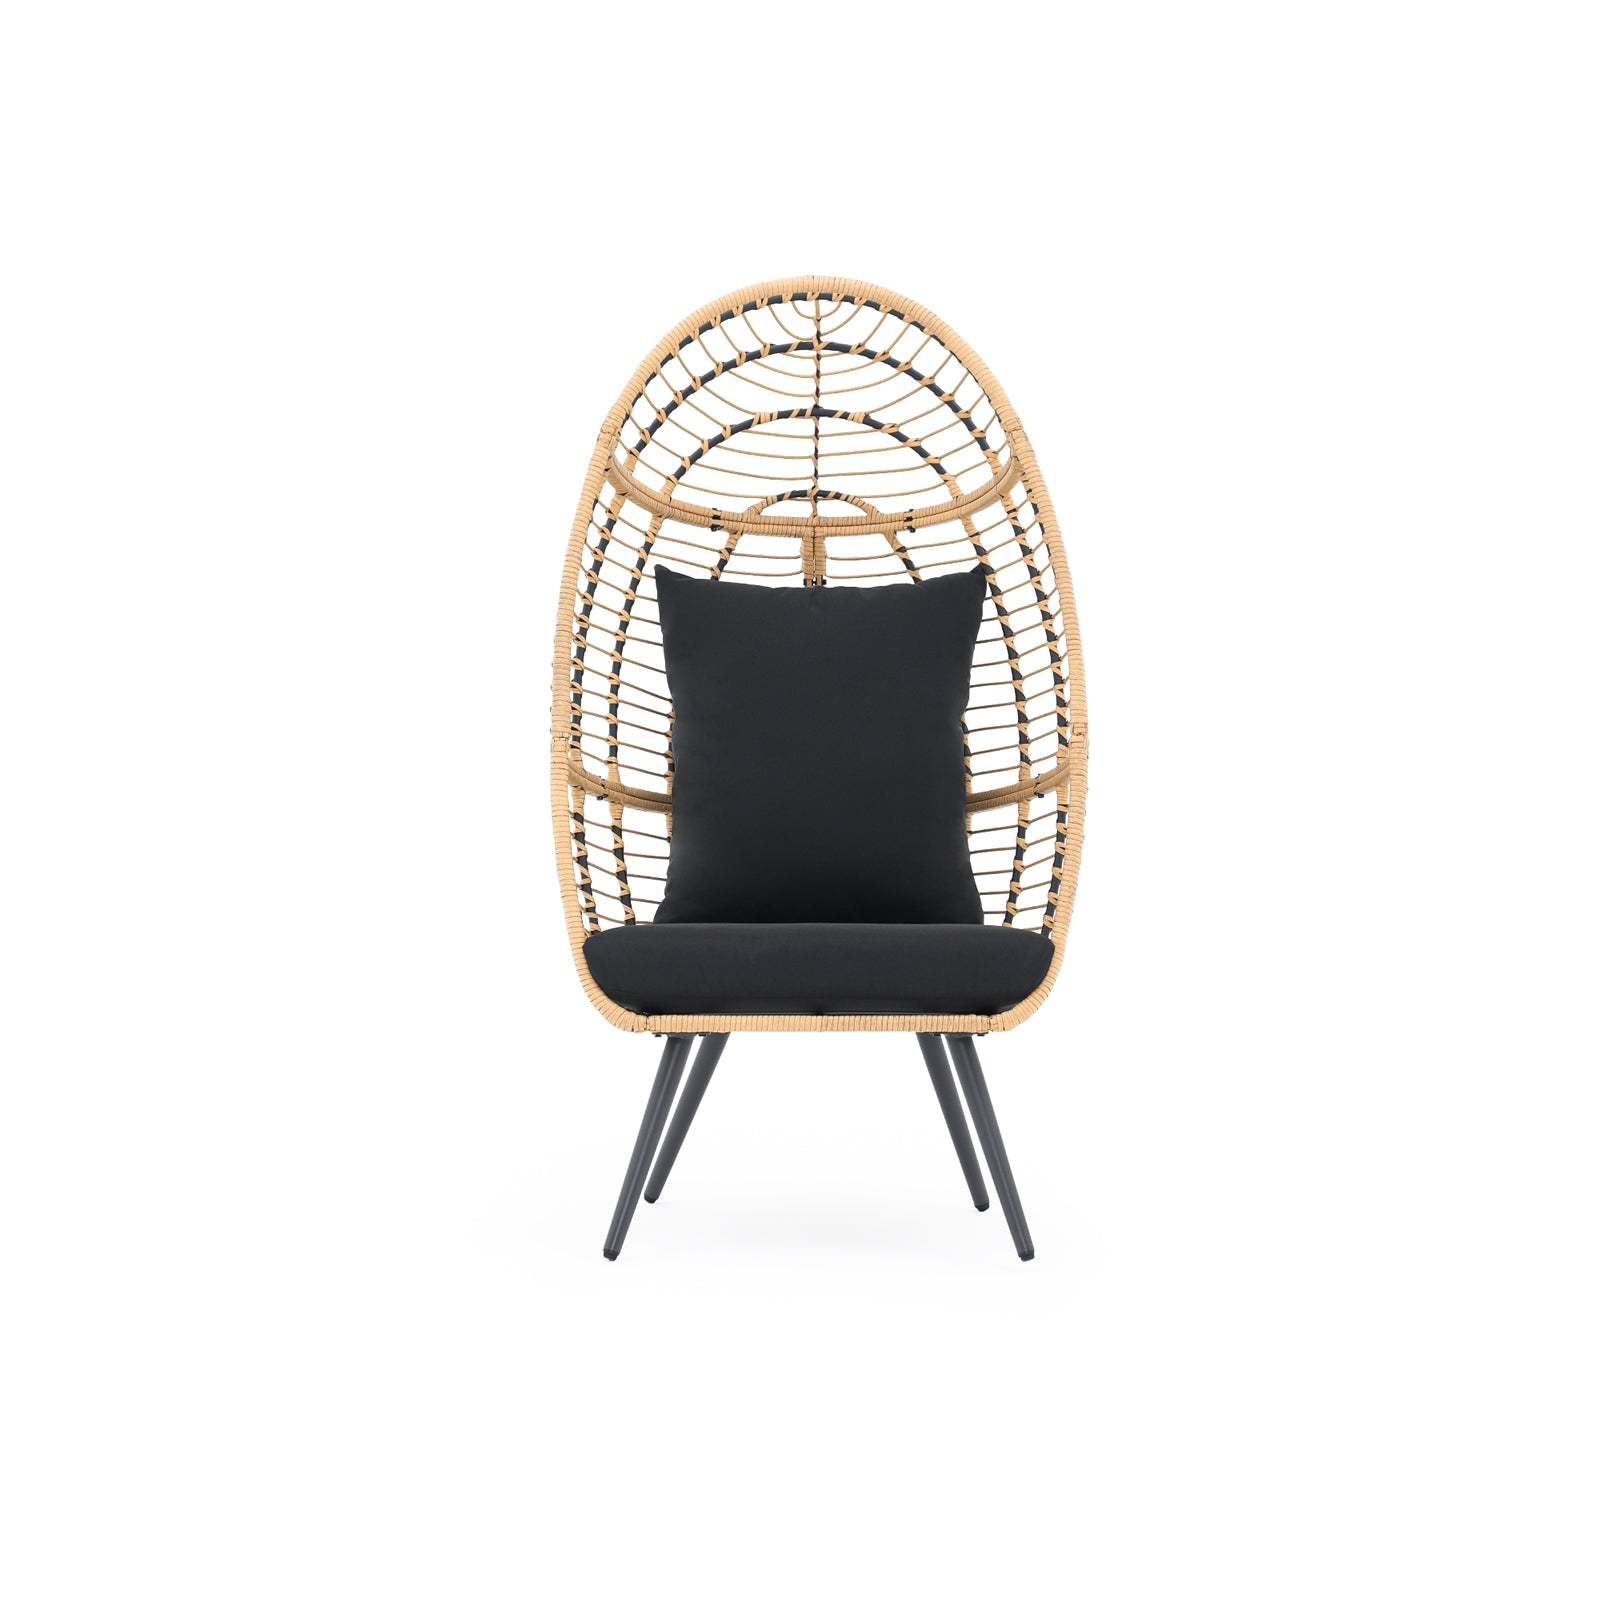
Indulge in comfort and style with the Jardina Wicker Egg Chair. This exquisite piece boasts a sturdy steel frame, weather-resistant UV-treated wicker, and plush cushioning for an ideal outdoor relaxation spot. With its four robust metal legs, this chair offers exceptional stability and can accommodate individuals up to 7 feet tall and weighing up to 350 lbs. Now, you might be wondering about the installation process for the Wicker Egg Chair. Rest assured, it's a straightforward task that can be effortlessly completed by a single person in just five minutes. Allow us to guide you through the process step by step.
1. Unpack the Egg Chair

Gently unpack the chair, taking care not to cause any damage to its components. Also, verify that all the necessary parts are present. If you discover any missing accessories or components, please promptly contact Jardina's customer service, and we will swiftly address the issue.
2. Assemble the Stands

Thoroughly review the provided instructions, retrieve the four legs, and locate the corresponding screws (each leg requires 3 screws). Utilize an electric drill to securely attach the legs to the chair's base. Ensure that the chair legs face outward during installation to avoid any backward placement.
3. Assemble the Chair Back

The chair's backrest consists of a total of 5 components. The two largest pieces form the bottom, followed by two middle pieces. Ensure proper alignment of these components, one on the left and the other on the right. The top part is semicircular. Assemble these parts from bottom to top, paying close attention to the alignment of holes. Securely fasten screws in each hole, ensuring they are snug.
4. Inspection and Testing

Thoroughly inspect the assembly to confirm that every screw is securely fastened, and all components are aligned correctly. Take a moment to review the instructions once more for reassurance.
5. Cushion Placement

You will find two cushions – one for the seat and one for the back. Simply place them in their designated positions.
6. Enjoy

Your Jardina Wicker Egg Chair is now ready for use. Sit back, unwind, and relish the comfort of your new seating!
To complete the look, the egg chair comes with soft back and seat cushions in two colors.
If you still need video help, check here:
Installing Jardina's Wicker Egg Chair is a straightforward procedure. Just adhere to the provided instructions to guarantee a safe and stable installation, ensuring you can unwind in comfort. If you have any inquiries, don't hesitate to reach out to us for assistance.
Explore the egg chair in detail: https://jardina.com/products/oia-egg-chair-natural-rattan-design


